Update: Posterous no longer exists! Twitter purchased Posterous, and no longer supports the service. Which is one of greatest tech crimes of last 5 years, ok maybe that's a bit exaggerated, but it was seriously awesome!
Originally posted on December 31, 2011
I have 2 rules for using technology in my classroom:
To get started, head over to Posterous.com, where you will be asked to sign up.
Originally posted on December 31, 2011
I have 2 rules for using technology in my classroom:
- send students to as few external sites as possible, and
- no new usernames and passwords!
To get started, head over to Posterous.com, where you will be asked to sign up.

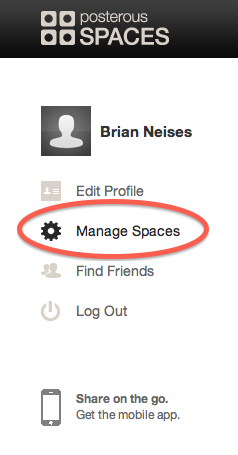
Once you have created a login, you will see the following menu on the left side of the screen. Select MANAGE SPACES.
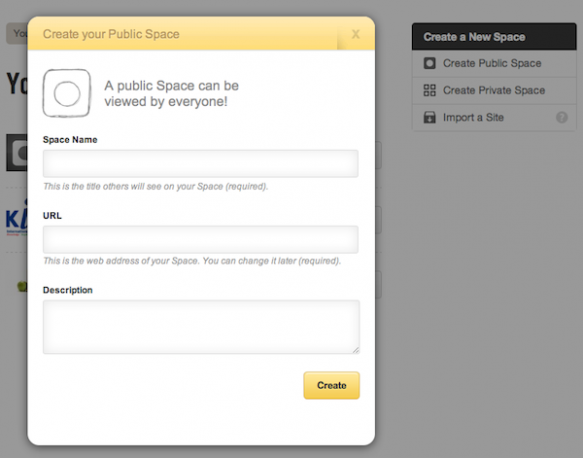
This will bring up a list of all of your spaces, and on the right hand side you will see the option to create a new space. You can choose to create Public Spaces that are open for everyone to see, or Private Spaces. Private spaces will even allow you to password protect your site should you choose to.

When you create your site you will give it a name, and it will then create a suitable URL. Your URL will be linked to the email students will use to post, so you may want to keep it as simple and easy to remember as possible. You can always change the URL later through the setting menu though.
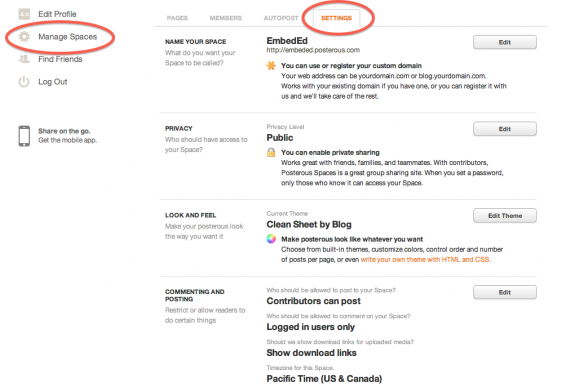
Once you have create a space, you might want to fiddle around with the settings. If you select manage spaces you should get a screen that allows you to change the basic settings. There are about 40 different themes to choose from, and you can select the options you want for posting and comments. If you are setting this up as a student blog, then I suggest that you have CONTRIBUTORS CAN POST, and ANYONE CAN COMMENT selected. MAKE SURE you have checked the MANAGE COMMENTS tick box though to prevent spam and any other outside sources commenting on your class blog.
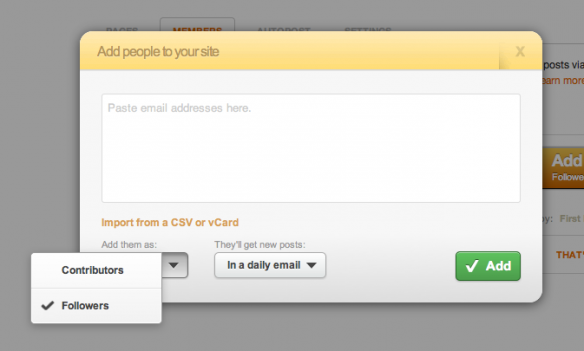
After you have set up your Space, you can invite students, parents, teachers, etc to post to your blog. Click on the MANAGE MEMBERS tab on the right side of the page.

You will be asked to ADD PEOPLE TO YOUR SITE. Simply copy/paste in your students emails, and select the CONTRIBUTORS tab. I might suggest adding parents as FOLLOWERS so that they can see their student’s work, but not interfere in the discussion.
Students will receive an email, and be able to start posting via email immediately!
If you’d like, you can go to my G7 Math blog, where I have a specific post for my students explaining how to post using email. (NOTE: This site will be up and running Term 2, so currently there are no student posts! They’ll be there around mid-January if you’d like to check back then).
I have successfully posted from Gmail, my iPhone with a photo attached, and my iPad with a video attached. My class webpage simply has a link to the blog, so students still only need one website, and one login (their emails).
If your not interested in starting a class blog without logins, but want students to make some simple webpages, you might want to check out my recent post on CHECK THIS.

 RSS Feed
